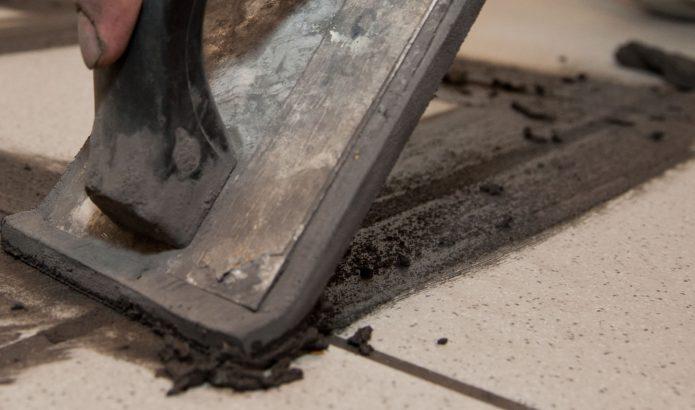
Grouting floor tile is slightly different than grouting wall tile. Since the tile is on the floor, you will use different tools to apply and scrape your grout. You’ll also take special steps around fixtures to help seal out water and protect your walls and floor.
We outlined the whole process of applying grout on floor tiles below so make sure to follow it exactly for best results!
Step 1: Clean the floor
Clean out the joints with a handheld vacuum. Remove all dust, dirt and dried mortar chips.
Step 2: Choose the right grout
Choose a proper grout for floor tile and joint thickness. Joints over 1/8 inch must use sanded grout. The sand adds to the strength of the grout which is especially important for flooring. The wrong grout will crack and chip due to the heavy traffic on the tile.
Step 3: Mixing grout
Mix up the grout according to the manufacturer instructions. Grouting floor tile requires a pasty, pudding-like consistency.
Step 4: Pouring and applying
Pour or trowel the grout onto the floor tile. Apply to a section about 3 feet square.
Step 5: Fill the joints
Push the grout over the joints by holding the float perpendicular to and pushing it along the joint. Force the grout into the joint so it completely fills it.
Step 6: Remove excess grout
Scrape off the excess grout with the edge of the float.
Step 7: Clean the surface
Once the floor tile grout has set for at least ten minutes, wipe the surface of the tile with a damp sponge to remove the remaining streaks of grout. After the grout has set a few minutes more, wipe along the joints with the sponge to create even channels in the joints. On floor tile, grout should come up to the top edge of the tile without exposing the side edge at all.
Last steps
Let the grout cure for 24 hours and seal with a grout sealer.
That’s it! We hope this DIY guide helped you, and make sure you follow it as outlined to make sure your tiles last for a long time.
