
Glacier Bay bathroom faucets are stocked by one of the country’s biggest home improvement stores. Designed to be an economical faucet, they perform surprising well under normal conditions.
Glacier Bay faucets leak occasionally, however. When they do, perform this simple cartridge change to fix the problem.
We described all the steps below that will show you how to replace the cartridge on your faucet!
Step 1
Shut off the water valves under the sink. Pry out the rubber cap on the side of the Glacier Bay bathroom faucet with a knife or flat screwdriver.
Step 2
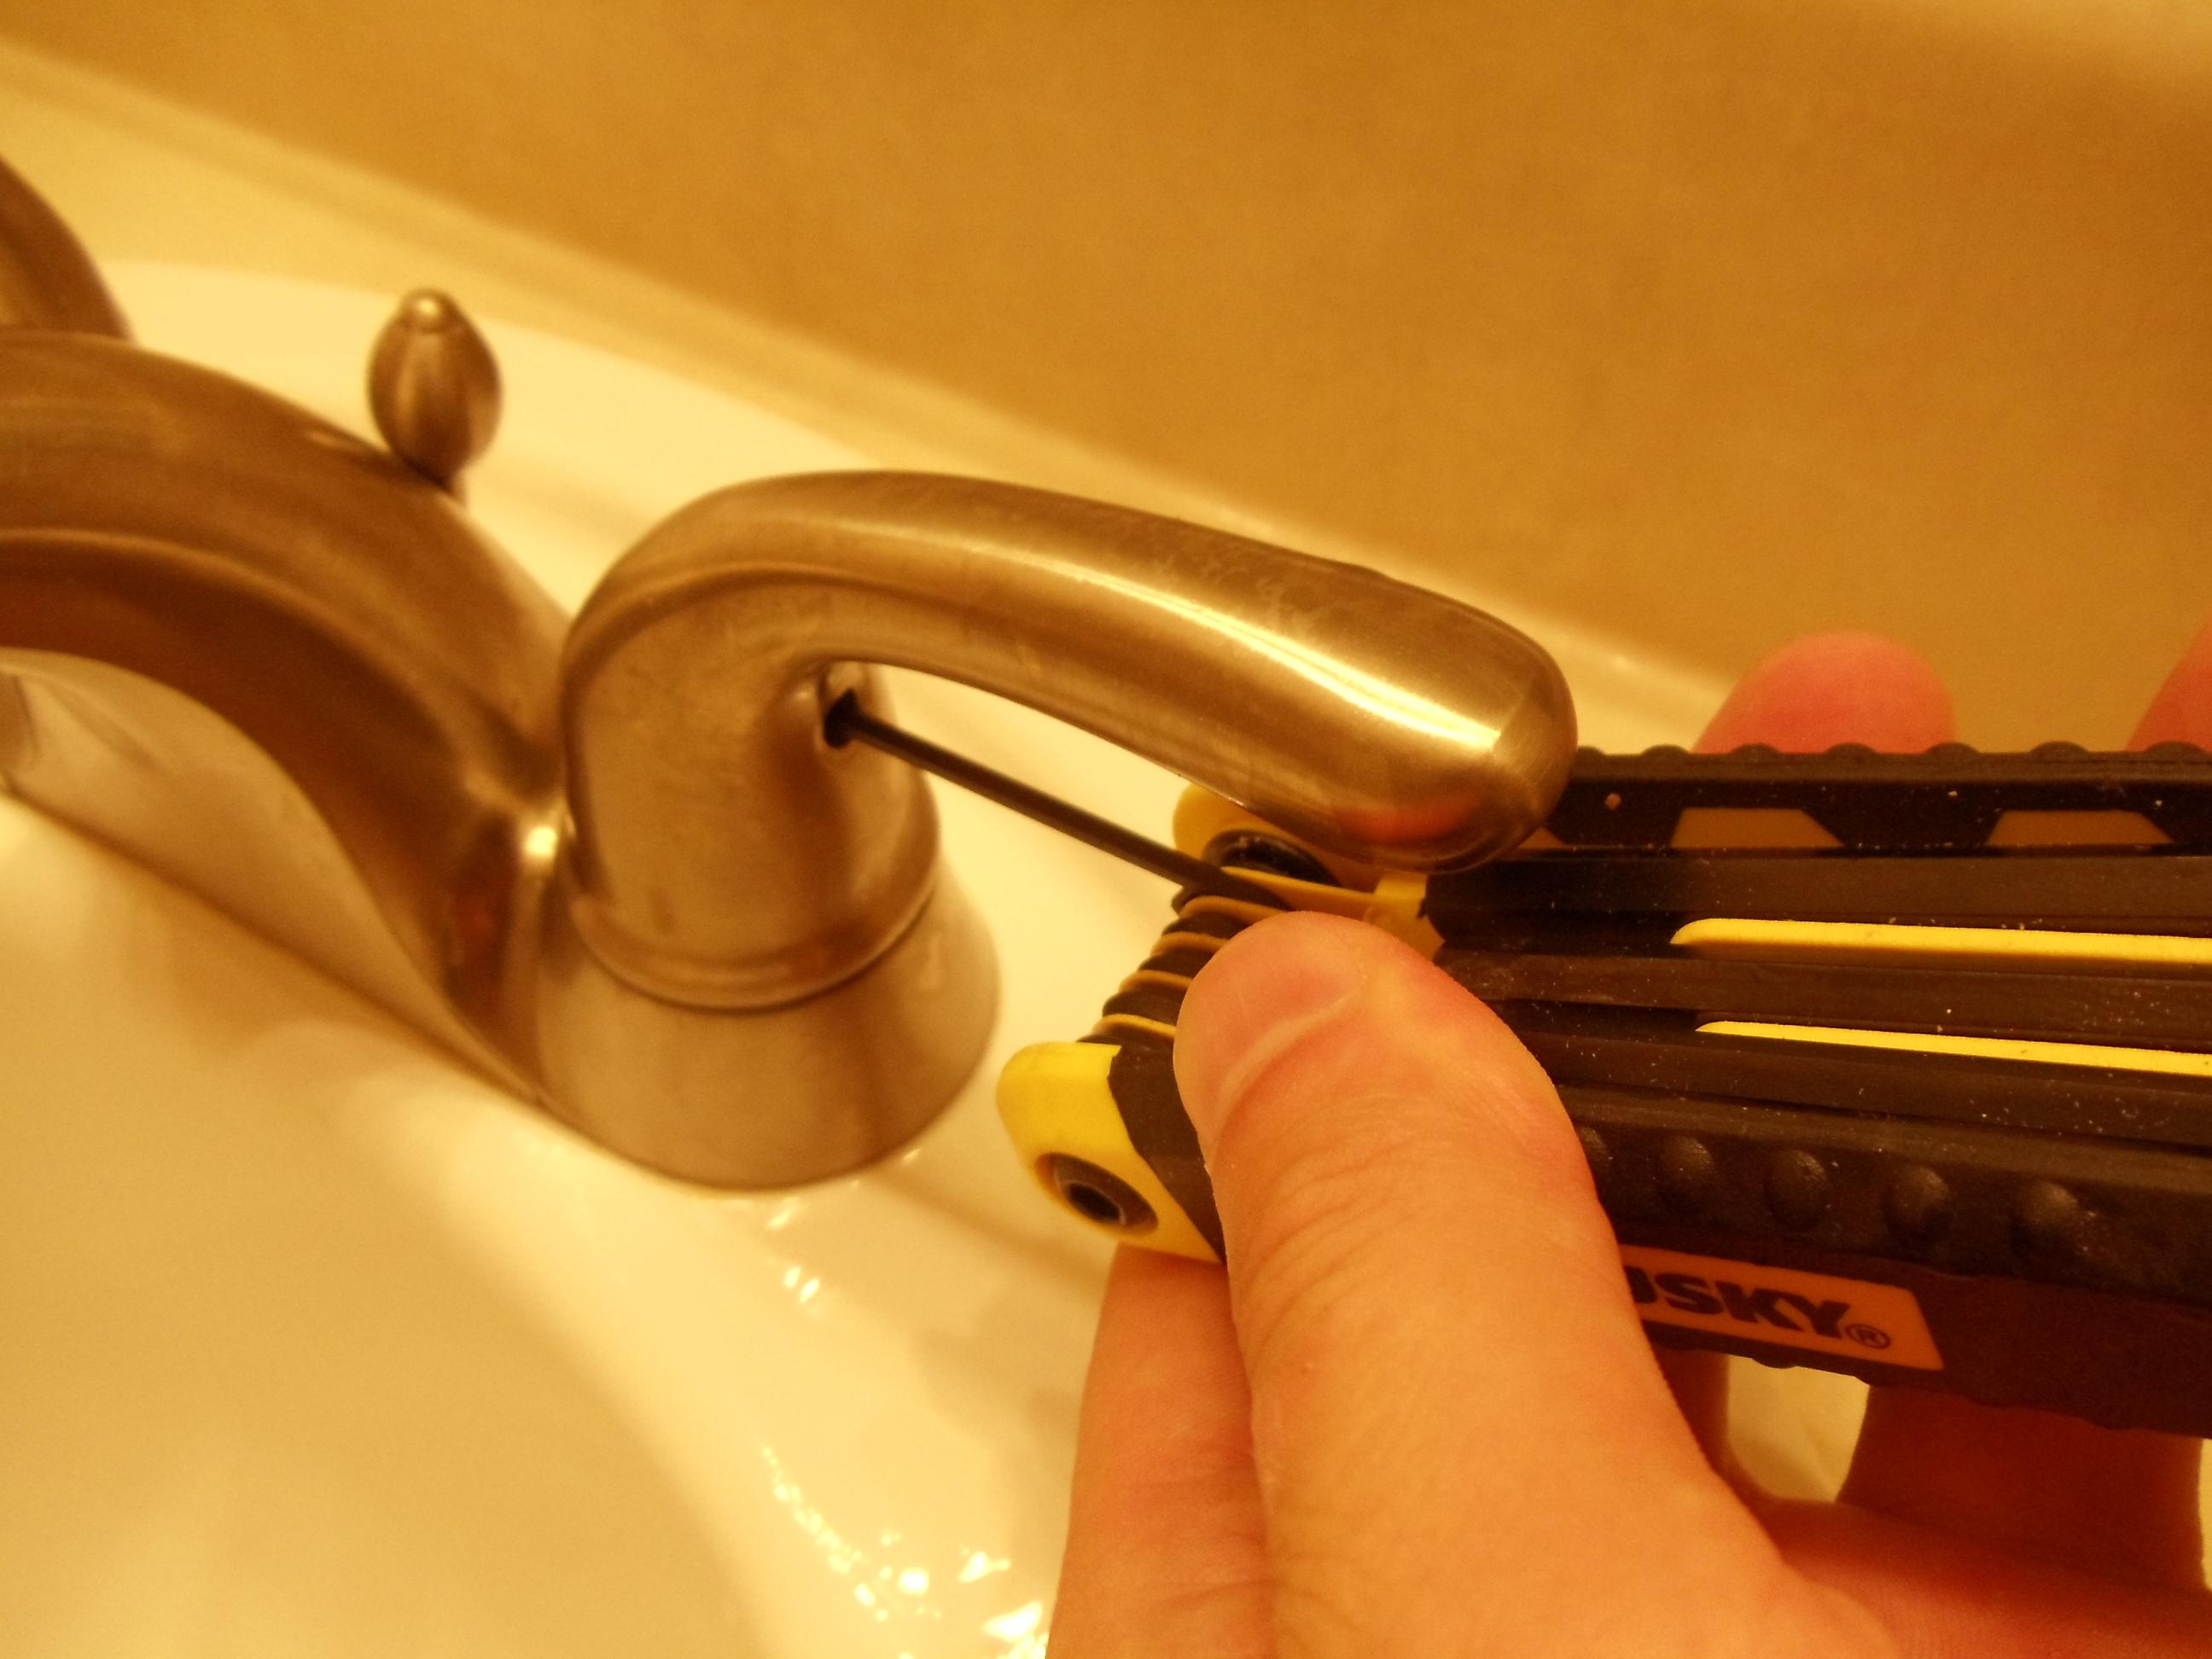
Unscrew the Allen head screw underneath this cap with an Allen head screwdriver and slide the handle off the base of the faucet.
Step 3
Grip the base of the handle adapter, that gray part under the handle with a pair of slip joint pliers, and unscrew the phillips head screw on top of it with a screwdriver.
Remove the adapter simply by pulling up on the part once the screw is completely removed.

Step 4
Unscrew the chrome nut located on the handle base with the pliers and remove it.

Step 5
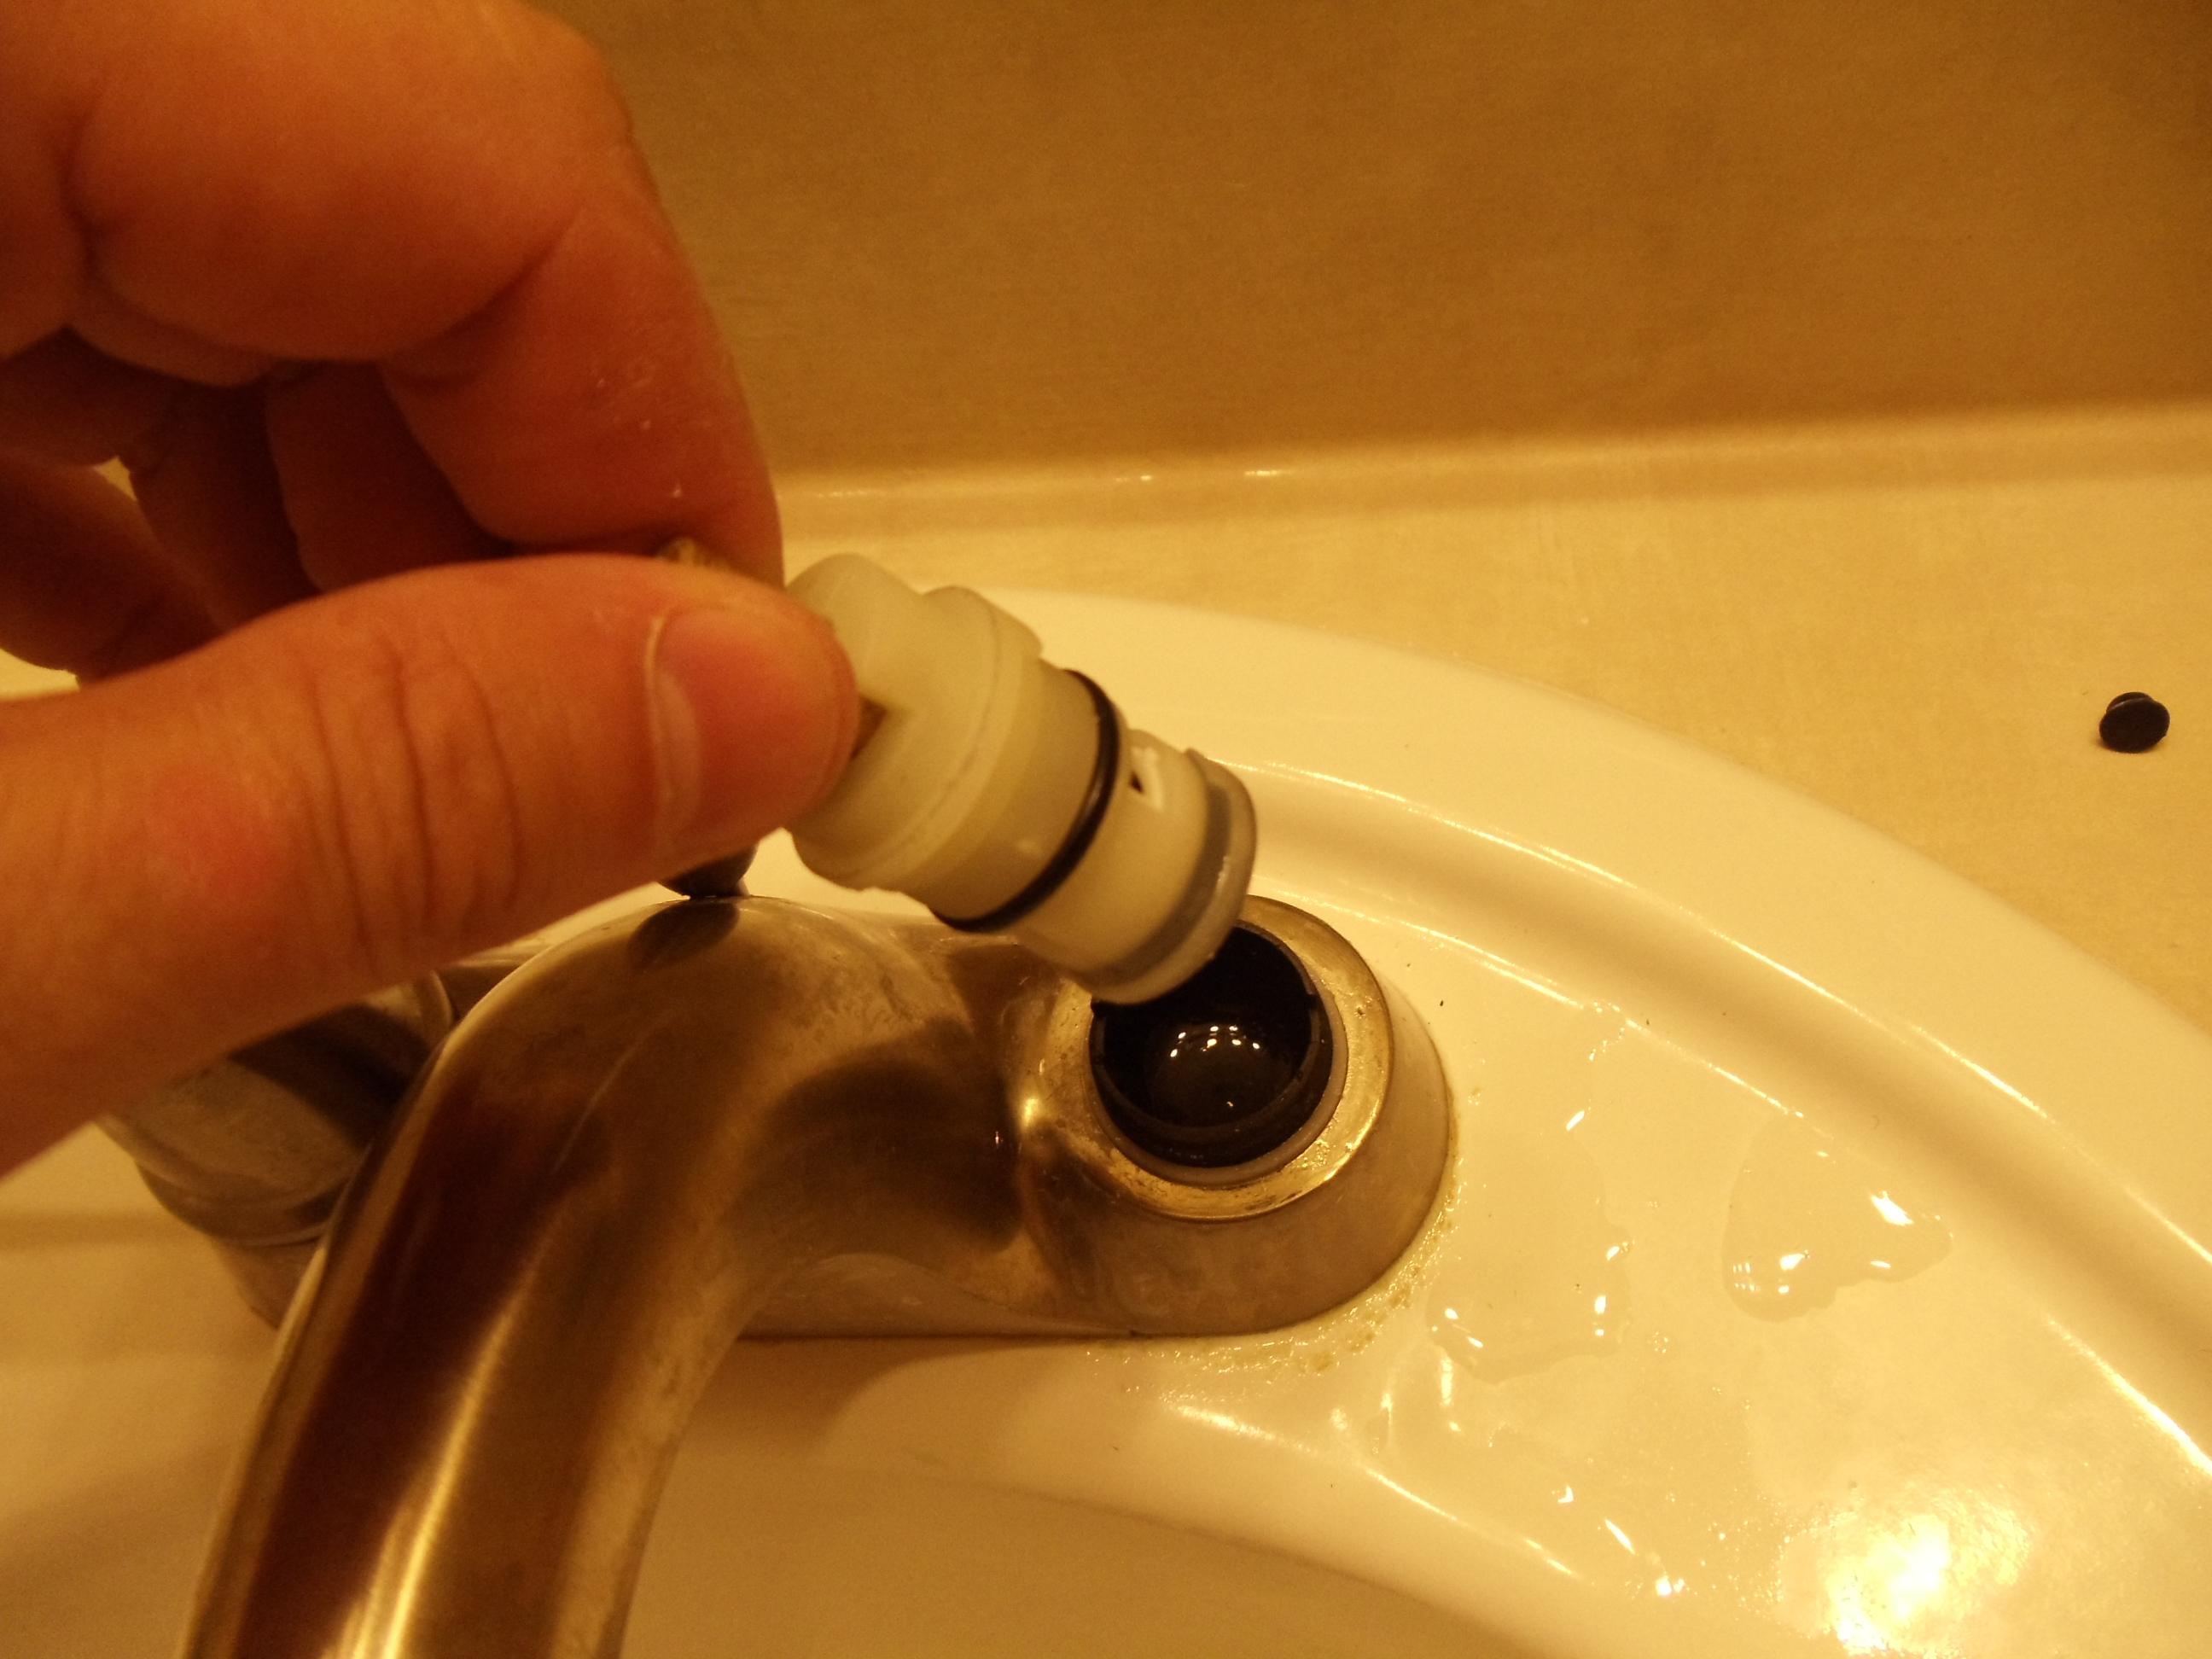
Wiggle the cartridge until it pops out of the faucet. Replace this Glacier Bay faucet cartridge with one designed for your specific model. Replacement cartridges are available at the same store you bought the faucet.
Step 6
Replace the chrome nut and tighten.
Step 7
Replace the gray handle adapter after lining up the notched tab on the side of the adapter (see picture). Otherwise, the adapter will not screw into place. Tighten the faucet adapter screw. Slide the handle on and tighten the handle screw.

And that’s it! Very simple repair that will help you easily change your cartridge.
Is your Glacier Bay faucet leaking? Learn how to fix it!