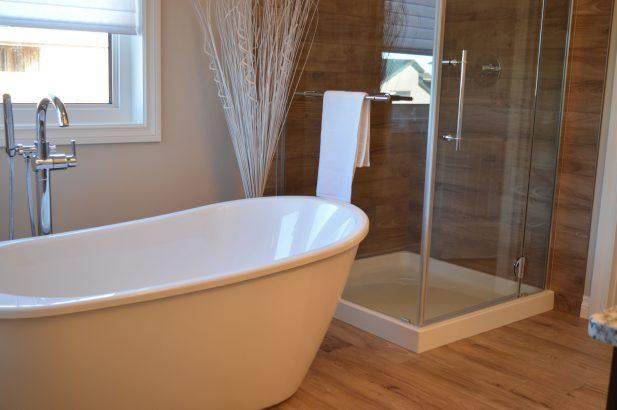
A few manufacturers make fiberglass or acrylic sheet shower stalls that come in several pieces including the base and three separate, fiberglass shower walls that install over your drywall to form a protective barrier against rot, water damage and mold.
These sheet walls and shower base are easy to install and perfect for a small apartment, because the whole shower fits through a small doorway and is easy to transport.
Installing one of these single sheet fiberglass shower units is also very simple. Each wall installs using adhesive directly on your shower walls.
Step 1 – Finish installing shower base
Finish installing the fiberglass shower base. This may involving additional leveling and mounting as needed.
Step 2 – Mount drywall
Mount drywall on the bare wall frames with drywall screws and a screwdriver, if there is not drywall already installed. Cut the drywall to size with a razor and drywall ruler, snap it, mount it and seal the seams with joint compound and fiberglass tape.
Step 3 – Fit shower wall panels
Fit the shower wall panels in place in the shower with no adhesive to ensure the proper fit. Mark and cut the holes for your tub pipe, shower pipe and faucet on the side wall with a hole saw and power drill.
Step 4 – Trim rear panel
Trim the rear panel on the non-channel side if needed with a razor.
Step 5 – Run caulk
Run caulk around the top flange of the tub base or shower base, where the shower wall panel will rest.
Step 6 – Apply adhesive
Apply the fiberglass shower wall adhesive (construction grade adhesive works best) to the side shower wall. Run a half-inch bead in an “s” shape all over the shower wall, each line about three inches apart.
NOTE: Always buy the suggested adhesive listed in your manual by the manufacturer for best results.
Step 7 – Line bottom and top edges
Line up the bottom of the shower wall with the top edge of your shower base. Press the shower walls to the drywall and remove it very quickly to make the adhesive tacky.
Step 8 – Line the edges
Line the edges up again and press the shower wall back onto the drywall. Hold for about 30 seconds or until it bonds. Release the wall and let it dry.
Step 9 – Repeat adhesive applying process
Repeat the adhesive process for the remaining shower side walls. Interlock the shower walls at the channel on the side and then press them into place.
