Learning how to replace a faucet cartridge takes only a few minutes and it is a fail safe way to fix a leak in any faucet made within the last five to ten years. Today’s faucets all use a simple, sealed and water tight ceramic disc cartridge to operate the water, and this is the part to replace when your faucet starts leaking.
Every faucet has a different cartridge, even certain models from the same brand will not share cartridges. So, do not try to use a Delta 17 series cartridge on a Delta 18 series faucet for instance. Always get the exact cartridge for your specific make and model of faucet. Double check the model number for accuracy before you start to replace a faucet cartridge.
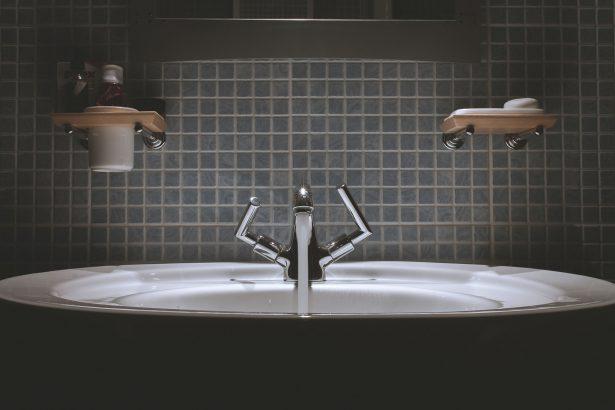
How to replace a faucet cartridge? Learn with our step-by-step guide below!
Step 1: Close valves
Close the water valves underneath your sink.
Step 2: Remove set screw
Remove the set screw (also called the faucet handle screw) on the base area of the faucet handle with an Allen wrench. On most faucets use a 1/8 inch or 2 to 3 mm Allen wrench. However, some faucets might use a larger or smaller head.
Step 3: Remove handle
Slide off the handle by pulling it up and away from the base of the faucet.
Step 4: Remove bonnet nut
Unscrew the bonnet nut (a hexagonal nut under the handle also called the cartridge retaining nut) or dome cap, which is a rounded nut that looks like part of the faucet, with a pair of pliers. Tape the teeth on the pliers to protect the finish on the dome cap, first. Or remove the adapter and trim sleeve, if your faucet has a trim sleeve instead of a bonnet nut.
Step 5: Remove cartridge
Slide out the cartridge by grasping the top of the stem with small pliers and pulling up. Note, American Standard Faucets have screws in the cartridge head. So, if you own one, and see small screws on top of the cartridge, unscrew them with a screwdriver then slide the cartridge out. If you have a Moen faucet, remove the cartridge clip on the body of the faucet with pliers.
Step 6: Insert new cartridge
Insert a new cartridge, after lining up the grooves on the cartridge with the grooved sides of the faucet body.
Step 7: Replace parts and finish
Replace the bonnet, dome cap or trim sleeve and adapter. Replace the cartridge screws, or retaining clip if applicable. Slide the handle on and tighten the set screw with the Allen wrench.
Step 8: Try it!
Turn on the water and use the faucet.
The outlined 8-step process should be all you need to replace a faucet cartridge by yourself, and we hope our DIY guide helped save you some money!
If you own one, be sure to read out specialized guide for Moen faucet types here.