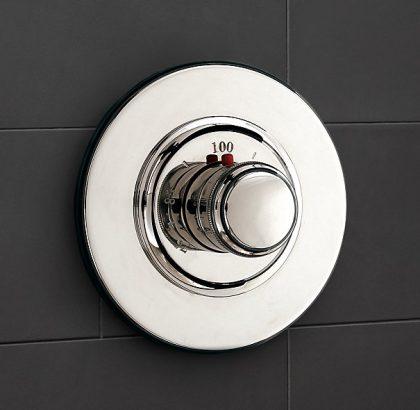
Installing the Symmons Temptrol shower faucet valve requires a few basic plumbing skills and the right tools. If you have installed faucets before, you’ll find this process requires similar steps. If not, brush up on your faucet knowledge before you attempt this process, and pay attention to a few common pitfalls.
Installing the seats inside the shower faucet body is one of the more complicated and labor intensive parts of the project. It is important to remember to use the right tools for this job, and to note that there are two seats, a hot and a cold seat. Each one requires a separate tool. Do not try to install the shower seats without the right tool; it simply won’t work.
Lining up the Seats
Each seat has to be threaded into the valve and tightened securely to prevent a leak in your faucet. When you install the seats, position one right on top of the other, inside the faucet body, after inserting each one onto the proper wrench. Push the tool inside the faucet body and turn the wrench to thread both seats on at once, and then continue turning the wrench to fully tighten it. This results in a proper installation and fewer leaks.
Installing the Shower Faucet Valve
The next step is to install the cartridge valve by fitting it into the seats and turning the valve so that it screws into place. A small washer screws onto the bottom of the valve, so be sure to install this before you set the cartridge valve into the seats. Once the valve is inside, a cap gasket fits over them. This part helps hold the cartridge in place; it also contains the packing washers.
Handle Installation
After the cap gasket is installed, the dome cover screws over the cartridge valve. This part covers up the cartridge valve, and it’s the last piece to go on before the trim and handle. The trim plate simply screws into the shower body valve with a screwdriver. When you slide the handle onto the stem, make sure it is flush with the dome and does not interfere with the trim. Then, screw in the handle, and place the cap on to complete the installation.
