In order to replace a faucet, you obviously have to remove the existing faucet. Fortunately removing a faucet requires just a little bit of skill, and in some cases a lot of tight space negotiating. If you have a basin wrench, removing any faucet is much, much easier.
Learn how to remove your faucet easily with our 5-step DIY guide below!
Step 1
Shut off the water supply to the faucet by closing both water valves on the water pipes under the sink. Turn the valves counter clockwise to close the valves.
Step 2
Disconnect the supply lines from the base of the faucet underneath the sink by turning the connectors counterclockwise with a properly fitting wrench or adjustable pliers.
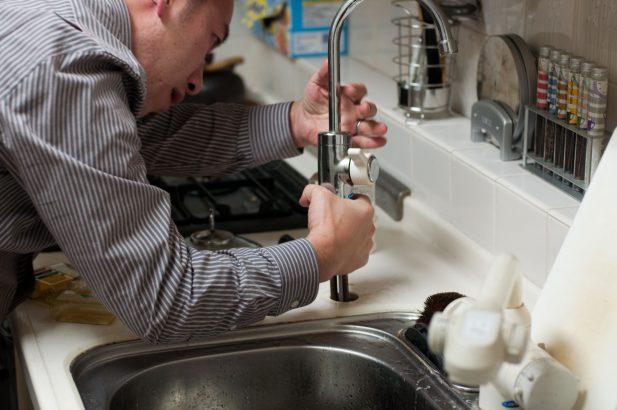
Step 3
Unscrew the mounting nuts underneath the sink by turning them counterclockwise with a basin wrench. These mounting nuts are right beneath the faucet handles on most double handle faucet models. On single handle faucets, you may have one or two mounting nuts, if the faucet has a base.
Step 4
Disconnect the lifting rod for the sink drain plug, on bathroom faucets with a drain plug, by sliding the metal clip off the horizontal rod.
Step 5
Lift the faucet off the base of the sink.
Now you can install the new faucet on the sink, or continue to renovate your bathroom or sink cabinets and counter top.
Learn how to install a new faucet, or get tips on installing a faucet.