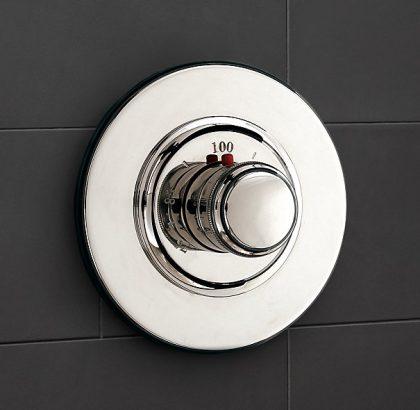
Many showers today, including several of the top brands, use a thermostatic shower valve to balance the water temperature even when the water pressure changes. These valves look similar to traditional shower valves, and they install in much the same way.
The valve is slightly larger than a normal shower cartridge, but the size does not change the installation process. If you have installed regular shower valves, this project will seem very familiar.
Step 1
Take the cover off the front of the faucet if there is a cover installed. This cover is used to protect the inside of the faucet when the surrounding wall is finished and is not part of the faucet.
Step 2
Insert the valve inside of the faucet’s body so the two inlets slide into the two holes in the faucet. If your valve has hot and cold marks, make sure they align with the hot and cold marks on the side of the faucet body.
Step 3
Place the bonnet nut, which is a round, ring-shaped nut, on top of the valve and tighten it by hand by turning it clockwise. This secures the valve inside the faucet.
Step 4
Slip the trim sleeve, a hollow tube, over the front of the faucet. Slide the trim plate on top of the sleeve and screw the plate to the shower wall with the two mounting screws and a screwdriver.
Step 5
Place the handle on the faucet’s stem, which extends out from the faucet. Thread the handle’s screw into the screw hole and tighten it with an Allen wrench. If your handle requires a cap, place this on the top of the handle and push it into place with your fingers.
