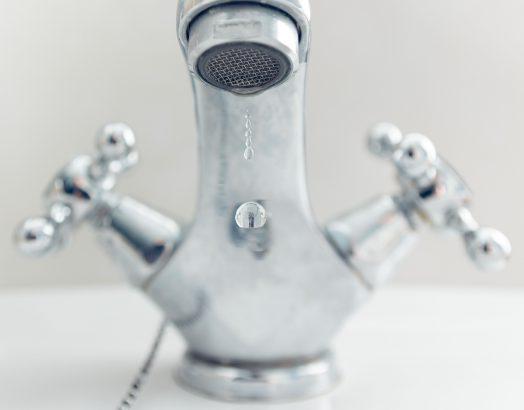
An old bath tub faucet is something you can replace, but you do need to know how to remove and install one to get the job done. Usually, bathroom faucets are single handle varieties, which means they have one handle for both hot and cold water.
All faucets are not exactly the same, but most are replaced by following a few similar steps. If you are attempting this task, be sure to read your instruction manual to get exact step-by-step directions for your particular model. The manual will also have a parts diagram which shows exactly how it is assembled. This is indispensable when replacing any bathroom faucet or part.
To properly perform this repair, you need to have some basic plumbing knowledge. If you own the right tools like a pair of vice grips, a wrench and an Allen wrench, you’ll find this job fairly manageable. If you are not sure about replacing an old bath tub faucet, contact a plumber and get it done right. You can damage your plumbing if you are not careful creating a bigger headache and more expense.
Step 1: Turn off the water
Turn off the water to your bath tub faucet by turning the water shut off valve to the “off” position.
Step 2: Remove the old faucet
Take out the older bath tub faucet handle (or handles if it has a double handle design). In order to do this you have to pry off the cap on the handle and loosen the small, Allen screw right below it. This screw holds the handle on your bath plumbing fixture. Use a screwdriver or an Allen wrench. Then pull back on the handles off of the fixture by pulling them forward.
Step 3: Remove retainer clips
Remove the retainer clips around the cartridges inside the bath tub handles. Pry them off with the head of a screwdriver. Slide the cartridges out and replace them with new cartridges to repair the faucet.
Step 4: Place the end over pipe fixture head
Place the end of a bath tub socket over the pipe fixture head. This is called the stem bonnet. It is the section of pipe that protrudes from the shower wall. Turn the socket to the left to loosen and remove this part.
Step 5: Remove seat
Insert a seat wrench into the open pipe head. Turn it to the left to remove the “seat” which is a part that connects the faucet to the fixture pipe. Remove this part. Spread pipe dope over the threads of the new seat. Insert it into the pipe fixture and tighten it with the seat wrench. This allows you to remove the bath tub faucet.
Step 6: Install stem bonnet
Install the stem bonnet by placing it into the pipe fixture. Turn the stem bonnet to the left with the tub socket wrench to remove it. Then install the cartridge into the stem. Secure it with new retainer clips and slide the new handles over the cartridge stem piece.
Step 7: Insert handle mounting screws
Insert the handle mounting screws. Tighten them with a screwdriver and reinstall the bath tub faucet handle caps by pressing them in place until they snap into the handle.
Step 8: Final steps
Trim pieces are sometimes replaced when you replace a bath tub faucet or install a new one. This is a simple step, just loosen the trim screws and remove the plate before you install the stem bonnet.
