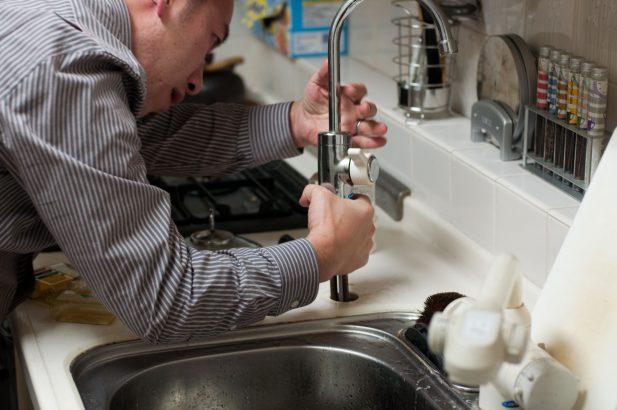
To install a faucet in a counter top, you have to cut or drill holes into the counter top for the faucet bases and for access to the water supply tubes. This is a scary proposition for most homeowners who have new counters and don’t want to ruin it by drilling holes in the wrong places, or chipping the surface of the counter.
If you learn a few simple tricks, and using the proper masking, you can drill the right holes for any faucet, perfect and chip-free, in just under an hour.
Cutting Faucet Holes – 6 Step DIY Guide
We firmly believe there’s no DIY home remodeling project you can’t complete by yourself, and all you need is a bit of good will and some expert instructions. We can’t help you with the former, but the latter is right below!
Step 1
Set the counter on a pair of saw horses or another solid, stable flat surface. Cover the entire area behind the sink with masking tape or painter’s tape. The tape prevents nicks and scratches and is best applied right at the beginning of the project, since you will be measuring and marking a location for the holes next.
Step 2
Figure out where to place the holes on the countertop. If you are installing a faucet, use the faucet template to mark the hole locations on the counter. If the faucet has no template you have to locate the holes yourself. Measure the distance from the back of the sink to the back edge of the counter top under the counter.
Measure this distance from the back edge of the counter on top, and make a mark. Make another mark 1 inch back from this measurement. Locate the faucet somewhere behind this mark leaving room for the backsplash and enough room for the faucet base.
Step 3
Make a final mark to indicate the center of the holes, once you decide where the holes will go. Measure 4 inches to the left and four inches to the right of this mark, making a dark “x” to mark the spot each time. Set the faucet on the marks to make sure they line up with the two handle bases. If not, adjust the marks so they do. The center mark still needs to rest exactly between the two outer marks.
Step 4
Place a 1/8-inch drill bit (or a drill bit the size of your hole saw’s pilot bit) on the center mark and slowly drill out the two holes holding the drill very steady and straight.
Step 5
Enlarge the bit by placing the 1 3/8-inch hole saw’s pilot bit into the holes and drill out the hole. Repeat for each mark. Remove the tape and wipe off the excess drilling dust with a rag.
Step 6
Use a masonry bit to drill into granite or cultured marble countertops. More about cutting holes in stone counter tops!
Materials List:
- Masking tape or painter’s tape
- Pencil
- Tape measure or ruler
- Drill
- Drill bit, 1/8 inch
- Hole saw, 1 3/8 inch
- Rag
