Installing Hardie Backer Board requires different tools and a different approach than installing regular or mold resistant drywall. If you want a real waterproof shower alcove or tub enclosure, use nothing but the best–hardie board and install it right with the proper tools.
Tools Required:
- Ruler and Pen
- Reciprocal Saw
- Drill and Masonry Drill bit
- Rotary tool
- Power screwdriver
- Square bit
- Backer Board Screws
Installing Hardie Backer Board – Step-by-Step DIY Guide
Installing a HardieBacker board is easy with our tips and tricks, so follow the guide to the letter and you’ll make your project a success!
Step 1
Measure the installation area with a tape measure. Plan installation. Hardie Backer Board comes in 3×5 sheets, the best install is two stack two vertically, cutting off two feet of the second board for 8 foot walls.

Step 2
Account for all pipes, outlets, vents or access doors. Measure the distance from the bottom or top of the board, and the distance from the end of the board, after you figure out where the board is going to go along the wall. Translate these measurements to the Hardie Backer Board. Clearly mark the location of these items on the Hardie Backer Board using a ruler and a marker (sharpies work great!).
Step 3
Cut out the areas you marked. Start the cuts with a rotary tool, just press it into your line and cut a gap large enough for your reciprocating saw blade. Finish the cut with the reciprocal saw.
Step 4
Place the Hardie Backer Board on the wall so it fits over any pipes or outlets.

Step 5
Mark the locations of the studs on the HardieBacker Board with a marker and ruler while it is on the wall. This gives you a better idea of where to pre-drill the pilot holes.
Step 6
Pre-drill the pilot holes with a drill and 3/32″ masonry bit. Insert screws into the holes and turn them once. Set the backer board on the wall again, and drive the screws in. Install a screw every foot or so on each stud the board intersects.
Step 7
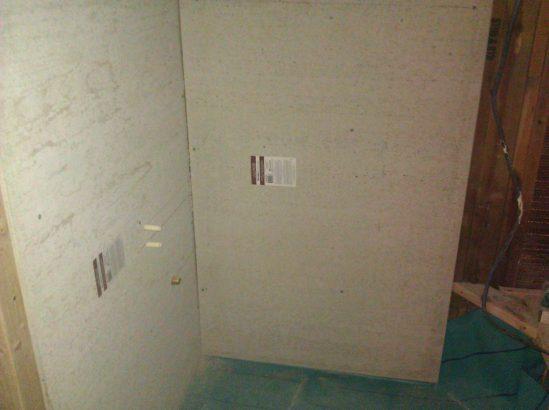
Cover entire wall in this manner.

Step 8
Tape the seams with joint tape and trowel mortar over the tape with a flat trowel. Let this dry completely.
Installing HardieBacker on Ceiling Tip:
To install Hardie Backer Board on the ceiling, pre-drill and insert at least four screws, preferably one in each corner, have one person place the board up against an adjacent wall. Carefully lift and angle the board up to the ceiling and hold while another person screws the board in.