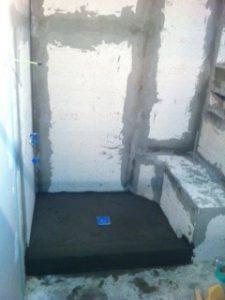
Once you install Hardie Backer Board on a wall, you have to finish it by filling the joints with mortar. This step seals hardi backer board and creates a solid, seamless surface on which you can now install tile. Check out how to finish a hardi backerboard installation for shower and tub walls right now.
Step 1
Complete the installation of all hardi board sections to cover the entire shower walls and floor if necessary. Cut all hardi boards to size with a reciprocating saw and fill in any gaps necessary. Use backer board screws for the best installation.
Step 2
Sand the edges of the hardi board smooth by hand and remove all dirt and debris prior to finishing hardi board.
Step 3
Mix up enough mortar to fill in all seams and joints and cover the nail holes in the backer board. Use either acrylic or latex modified thinset mortar or mastic compound as mortar for a shower wall installation.
Step 4
Spread the mortar in a thin layer over the joints and seams of the hardie board using even strokes to create a very smooth surface.
Step 5
Apply 2″ fiberglass tape (alkali resistant) inside the mortar and press firmly to embed it in the seam.

Step 6
Spread more mortar over the seams to create a completely flat and smooth surface. Use the trowel to feather out your edges so the seams do not bulge out.
Step 7
Let it dry. Sand down the seams and remove any bumps or dried material with a scraper.
