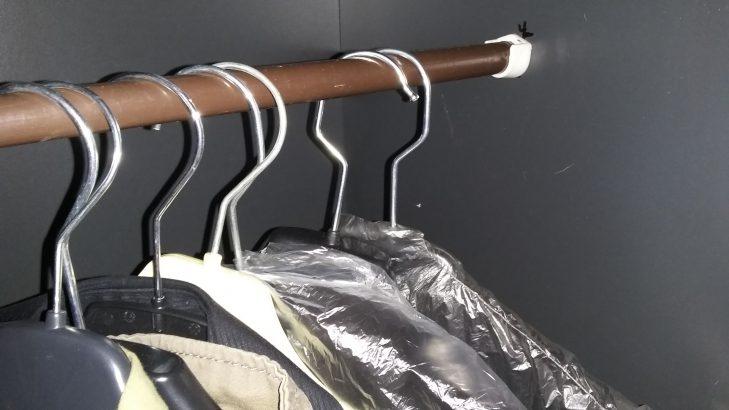
If you want to add clothing storage space to a closet, install a closet rod using simple brackets you can find at any hardware store. Installing a closet rod only takes about an hour, and it is so easy, you’ll wonder why you didn’t take this project on before.
First of all, decide where you want the closet rod. You need two adjacent walls at least 14 inches deep to hand a closet rod, and they should be between 3 and 8 feet apart. The closet rod extends all the way across the space between them.
Step 1
Measure out from the back wall 12 to 14 inches to allow optimal clothes hanging space. Most clothes require 12 inches of space on each side of the rod for a total of 24 inches of space.
Step 2
Make a mark here and then measure 45 inches up from the floor. Note, to install double closet rods set the top rod at 80 inches and the bottom rod at 40 inches.
Step 3
Put your bracket on the wall at this mark and mark the location of the mounting holes with your pencil by pushing it through each hole in the closet rod bracket.
Step 4
Drill out each mark. Insert a drywall anchor into the hole (use a 1/4 inch bit for #8 to #10 drywall anchors). Gently tap on the anchor to drive it all the way into the wall. Or, push an auger anchor into the wall and screw it into the wall with a screwdriver. These work great for hanging a closet rod.
Step 5
Set the brackets back in place, line up the holes and anchors, and screw the closet rod brackets in. Make sure they are tight, these brackets must support a closet rod that is hanging all your clothes.
Step 6
Hang the closet rod in the brackets.
Step 7
Support the closet rod every 3 feet by mounting an angle bracket in the wall in the same way. Just set it under the closet rod, make markings to indicate where to drive in the anchors, and install the bracket for the closet rod.
There are other ways to install closet rods, but this makes for a sturdy and fast closet rod installation.
